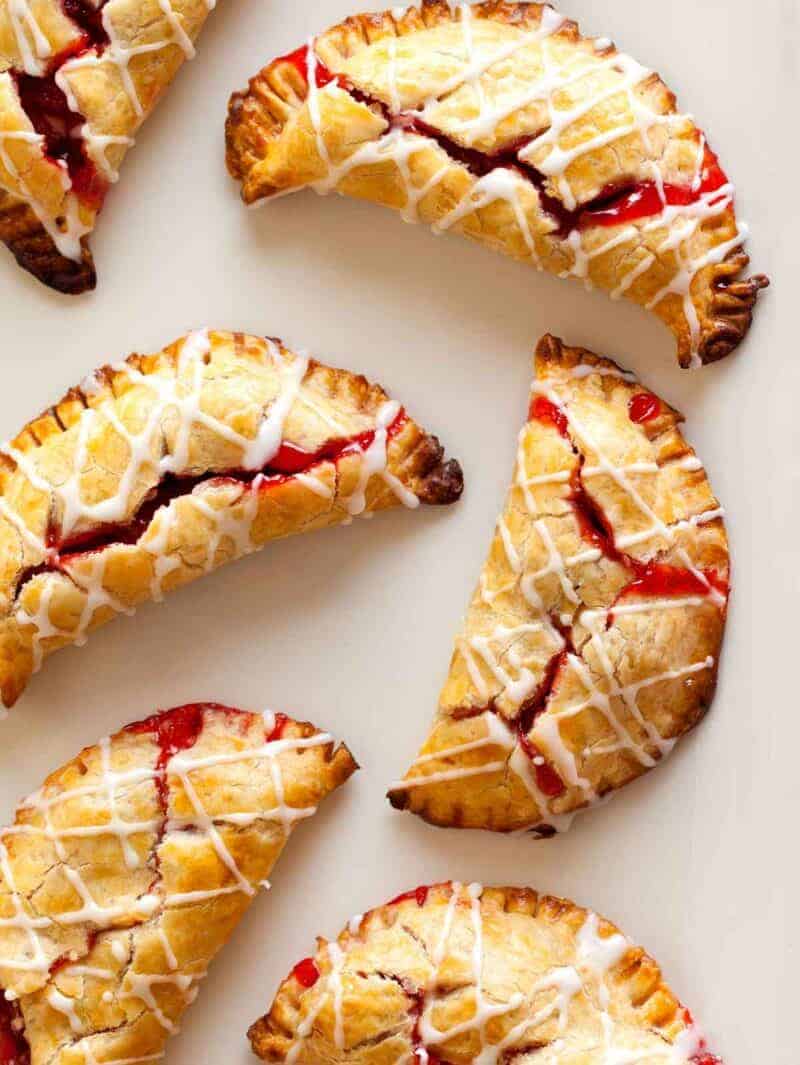
Oh yes. Single serving pastries. The stuff dreams are made of. I really like single serving pastries because then its SUPER clear whats mine, and super clear what is yours, and you won’t be eating any of mine. It prevents a hog situation from arising, yet still satisfies everyone. So apart from that, they are also super cute. Its like a puppy with huge paws, or a baby giraffe that stands crooked. Mini stuff is always cute and always awesome. This would be a great thing to bring to a BBQ.
Here are more recipes you might like:
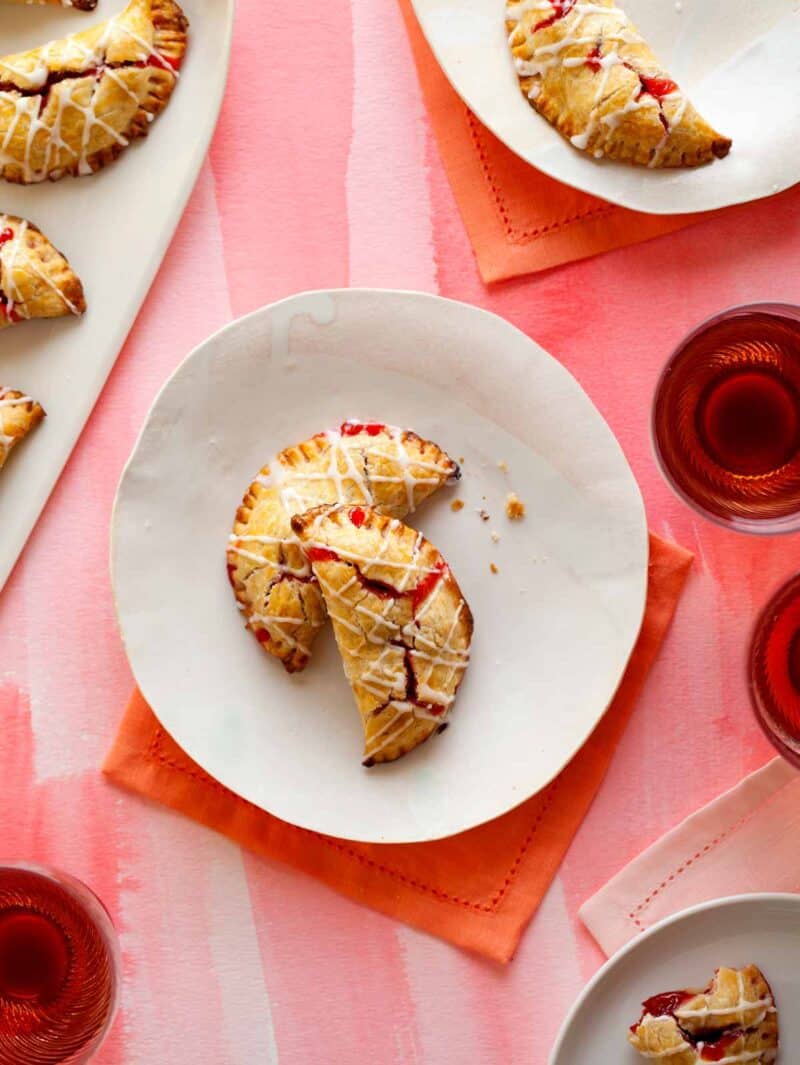

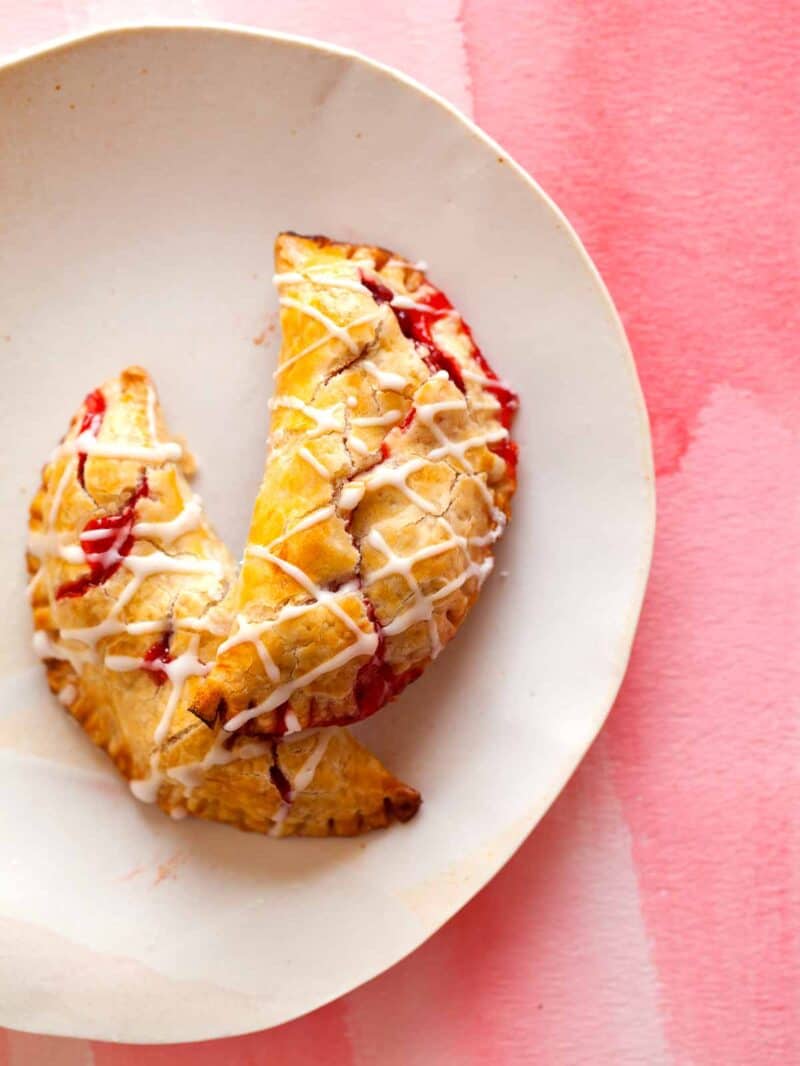
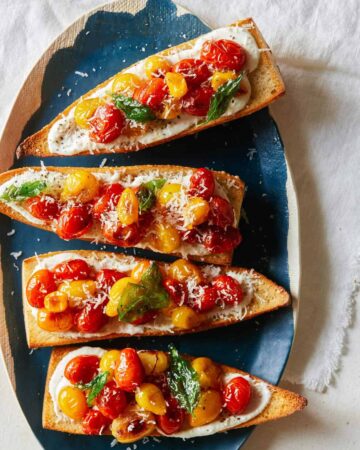
Cherry Hand Pies
Servings:
INGREDIENTS
pie dough
- 2 cups all purpose flour
- ¼ teaspoon baking powder
- ¼ teaspoon salt
- ¾ cup cold unsalted butter, cut into cubes
- ¼ cup cold cream cheese, cut into cubes
- 2 tablespoons buttermilk
filling
- 3 cups cherries, pitted and quartered
- ⅔ cup granulated sugar
- 3 tablespoons minute tapioca
- 3 teaspoons ground cinnamon
- ⅛ teaspoons salt
- 2 tablespoons lemon juice
- 2 teaspoons almond extract
egg wash
- 1 egg
- 1 tablespoon heavy cream
cherry icing
- ½ cup powdered sugar, sifted
- 2 tablespoons Kirshwasser
- 1 tablespoon heavy cream
- 1 teaspoon vanilla extract
INSTRUCTIONS
- Preheat oven to 400°F.
- In a bowl sift together the flour, baking powder and salt.
- Add the cold cubs of butter and cream cheese and cut in with a pastry knife or your fingers until a fine crumble is made.
- Add the buttermilk and gently work together, until a dough just comes together.
- Form the dough into a disc, wrap it in plastic wrap and place in the refrigerator.
- While the dough chills prepare the filling. Place the filling ingredients into a bowl and mix together until well combined. Set aside and allow the mixture to sit for 10 to 15 minutes.
- Roll the dough out onto a lightly floured surface until ¼ inch thick.
- Cut twelve 4 inch circles from the dough and fill each with a small amount of cherry filling.
- Whisk together the egg and cream.
- Brush the perimeter of each hand pie with the egg wash and fold/pinch together, creating ½ circles.
- Press the ends with the back of a fork to seal and brush the tops with the egg wash.
- Using a pairing knife, cut 3 small slits on the tops of each hand pie.
- Place them onto a parchment lined baking sheet and bake in the oven for 15 to 18 minutes or until golden brown.
- Allow the hand pies to cool completely on a cooling rack.
- While the hand pies cool, place the powdered sugar, Kirshwasser, cream, and vanilla extract into a small bowl and gently stir together with a fork until fully incorporated and smooth.
- Drizzle the icing over the hand pies and serve.
Calories: 317kcal Carbohydrates: 42g Protein: 4g Fat: 15g Saturated Fat: 9g Cholesterol: 53mg Sodium: 108mg Potassium: 117mg Fiber: 2g Sugar: 22g Vitamin A: 497IU Vitamin C: 3mg Calcium: 30mg Iron: 1mg
Did you make this recipe? We want to see!
tag @SpoonForkBacon and #SpoonForkBacon on Instagram
Can I use frozen cherries? And is the tapioca for thickening or flavor? Thank you!
Yes! And it’s for thickening. You can use flour or cornstarch instead, if you don’t have tapioca
Is there any problem with making 4 batches all at once? Any high altitude changes? I want to make 48 of these for a graduation party.
They look marvelous!! :-)
pies
these look soo good! i’m considering making these for a labor day weekend bbq, but do we have to use the tapioca?
I don’t know what I’m doing wrong but the pastry just keeps coming out far too brittle to manipulate into the right shapes!
I’m not sure if it’s the gluten free flours or that I’m trying to translate American measurement into a British standard but I just couldn’t get it to work! :o(
Hm, that’s odd. I just made this pie dough a few weeks ago and it worked fine. I know US to Metric conversions can be tricky sometimes and I’ve never tried this recipe with gluten free flours. Bummer this isn’t working for you…perhaps trying a dough recipe you’re already familiar with and one that is already converted? Maybe that with our filling will work!
can i use cherry pie filling instead?
Yes!
I am making these tomorrow! Don’t think they will look as good as yours, but hopefully they’ll taste as good as it looks :D
I loove this blog, its my fav!
Ohmygosh!! These are gorgeous!!!! I can’t get enough of cherries! I wonder if i could make a batch, and freeze some for later use….
You totally can! You might just want to check on the consistency a bit once it thaws, and possibly throw it back in a pot and reduce it slightly, if needed!
Beautiful! Really breathtaking photos and now I want to make these, thank you!
I think the added drizzle is what does it for me. Beautiful pictures and a fun treat! :)
Wow, these look great! I love that they are hand held, versus having to cut a piece out of a whole pie. Yum!
I adoorree your blog layout! Its just so cute! and this post is so lovely, your photos are beauutiffull and the pastry on these little scrummies looks perfecto :) seriously a gorgeous post indeed!
Are you using fresh cherries? What kind of cherries do you use for this recipe…sweet or sour?
Hi Dianna! I used sour cherries for this recipe. I managed to find some at the farmer’s market. I know depending on where you live sour cherries can be difficult to find, so this recipe can be replaced with sweet cherries, no problem. I would just scale back on the sugar a little since sweet cherries are….well, more sweet :)
Hi Eva! You’re totally right, very unclear indeed! The last filling ingredient is the almond extract. The egg and cream are for the egg wash and the remaining 4 ingredients for the cherry flavored icing. Sorry about that! We’ll make sure to write things out more clearly.
What is Kirschwasser? it sounds like cherry water?????
Hi Cassie! Kirschwasser does in fact translate to “cherry water”! It’s a clear cherry flavored brandy.
These cherry pies look really yummy; it’s a little unclear as to where the filling ingredients end. Love the blog!!