Easy recipes for breakfast, lunch, dinner, and beyond.


HI! WE ARE GLAD YOU’RE HERE!
We are Teri and Jenny, and together we created this site that is full of recipes that are flavorful and easy.
You don’t have to be a pro to cook and bake delicious food.
We hope you find something you love in our little corner of the internet.
XOXOXO, Teri + Jenny
Read more About us

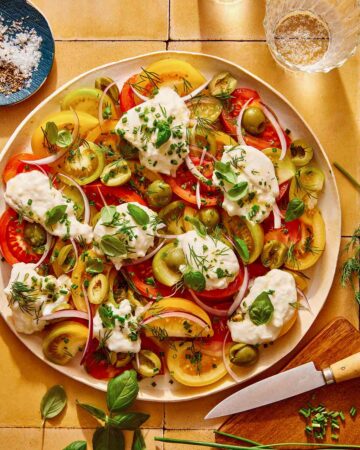

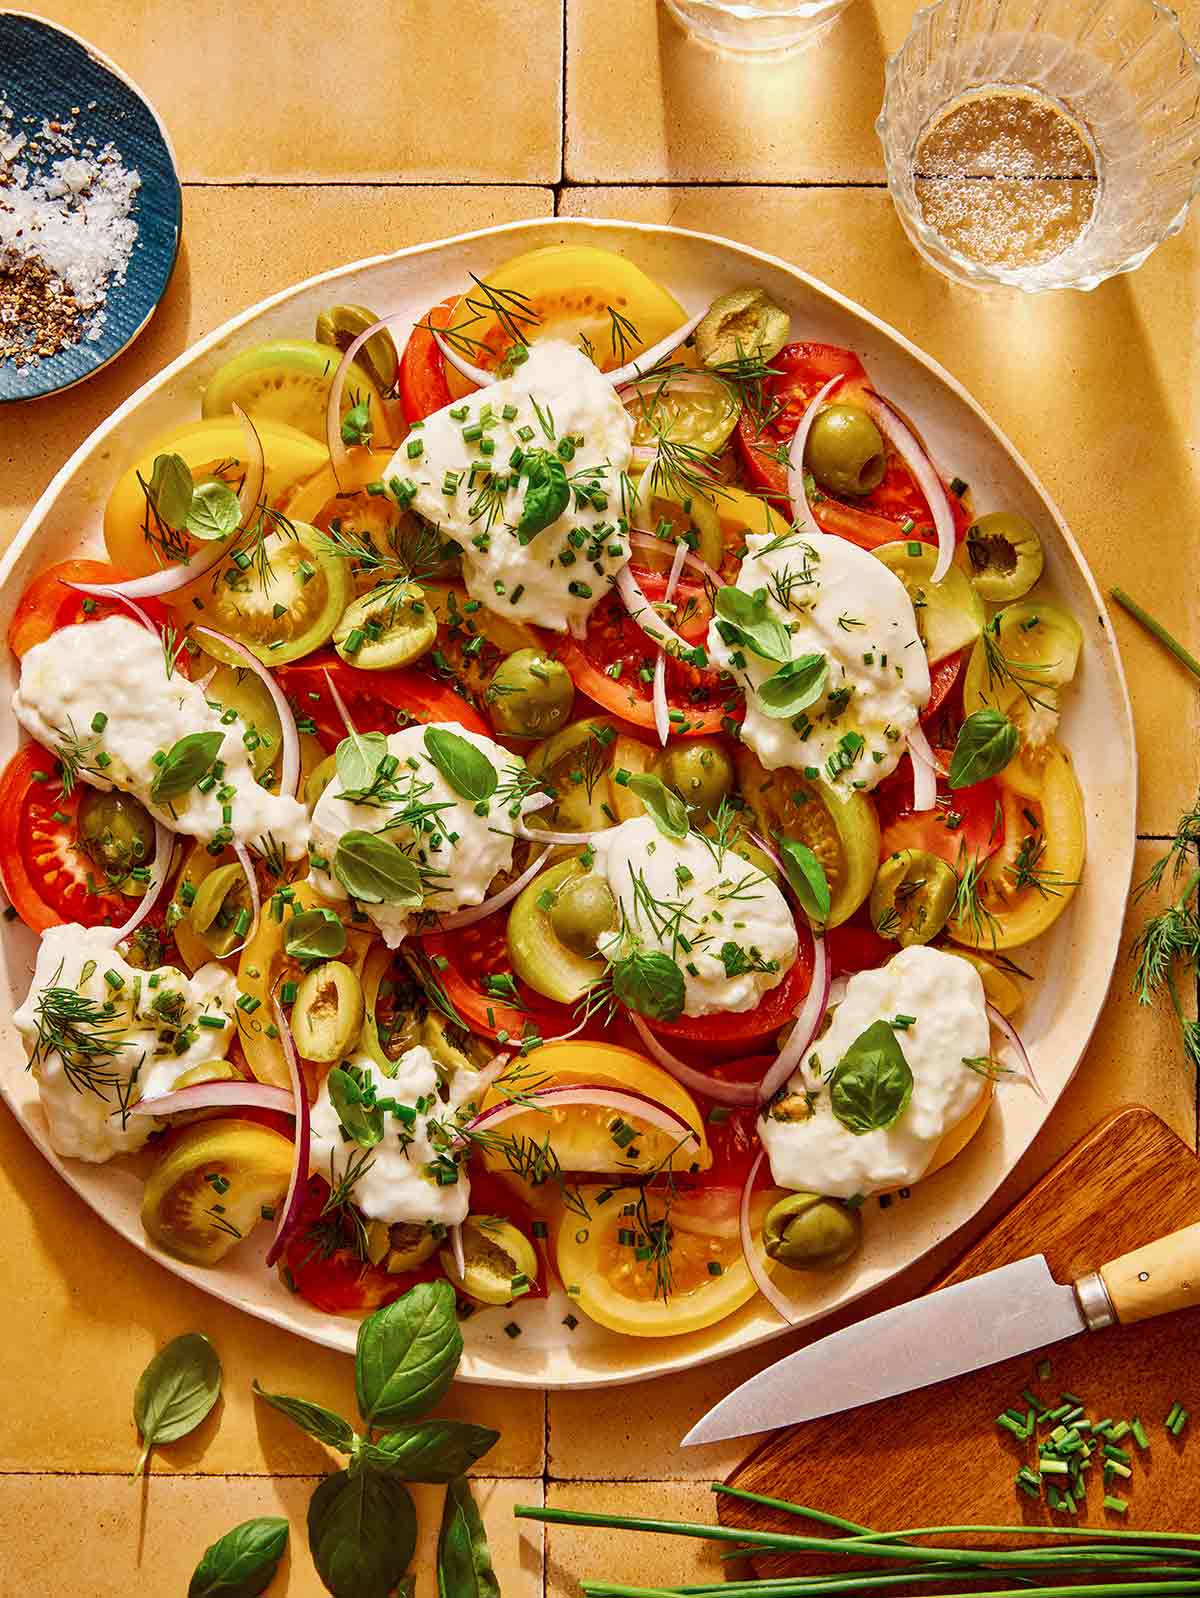
Tomato Salad
A fresh and vibrant tomato salad featuring juicy heirloom tomatoes, creamy burrata, and a zesty lemon-herb vinaigrette, for a refreshing and flavorful dish perfect all summer long.
July 13, 2026 | 1 comment

Baja Fish Tacos
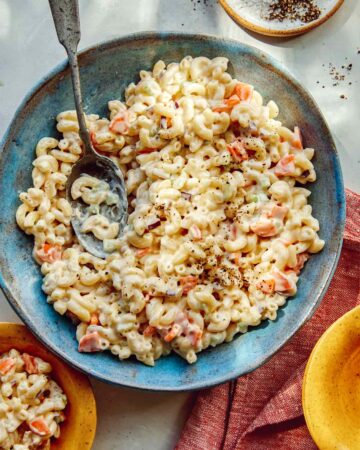
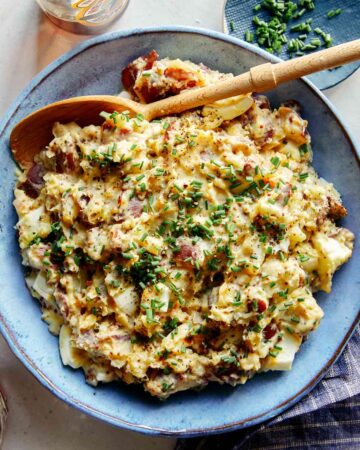
Hawaiian Macaroni Salad